Home / Support / Digital platforms tutorials /Blinklearning Tutorials for Teachers
Blinklearning Tutorials for Teachers
Creating a new Teacher Account
I forgot my Password
Activating The New UX
Adding Content
Creating a new Classroom
Navigating Content
Assigning Homework (Homework Tab)
Assigning Homework (Grades Tab)
Grading (Homework and Grades Tabs)
Creating a new Teacher Account
Creating a new Teacher Account
- Log in to www.blinklearning.com

- Navigate to the button create account
- Use the license code sent by the sales or support representative, or located within your order. Only 1 code is currently needed
- Fill out the other needed information (First, last name, email address, password)
I forgot my Password
- Click on log in
- Click on reset password
- Wait for an email from
- BlinkLearning to reset the password
Activating The New UX
Changing to or Activating the new UX
- Log in to www.blinklearning.com

- Click on the Avatar on the top right navigation bar.

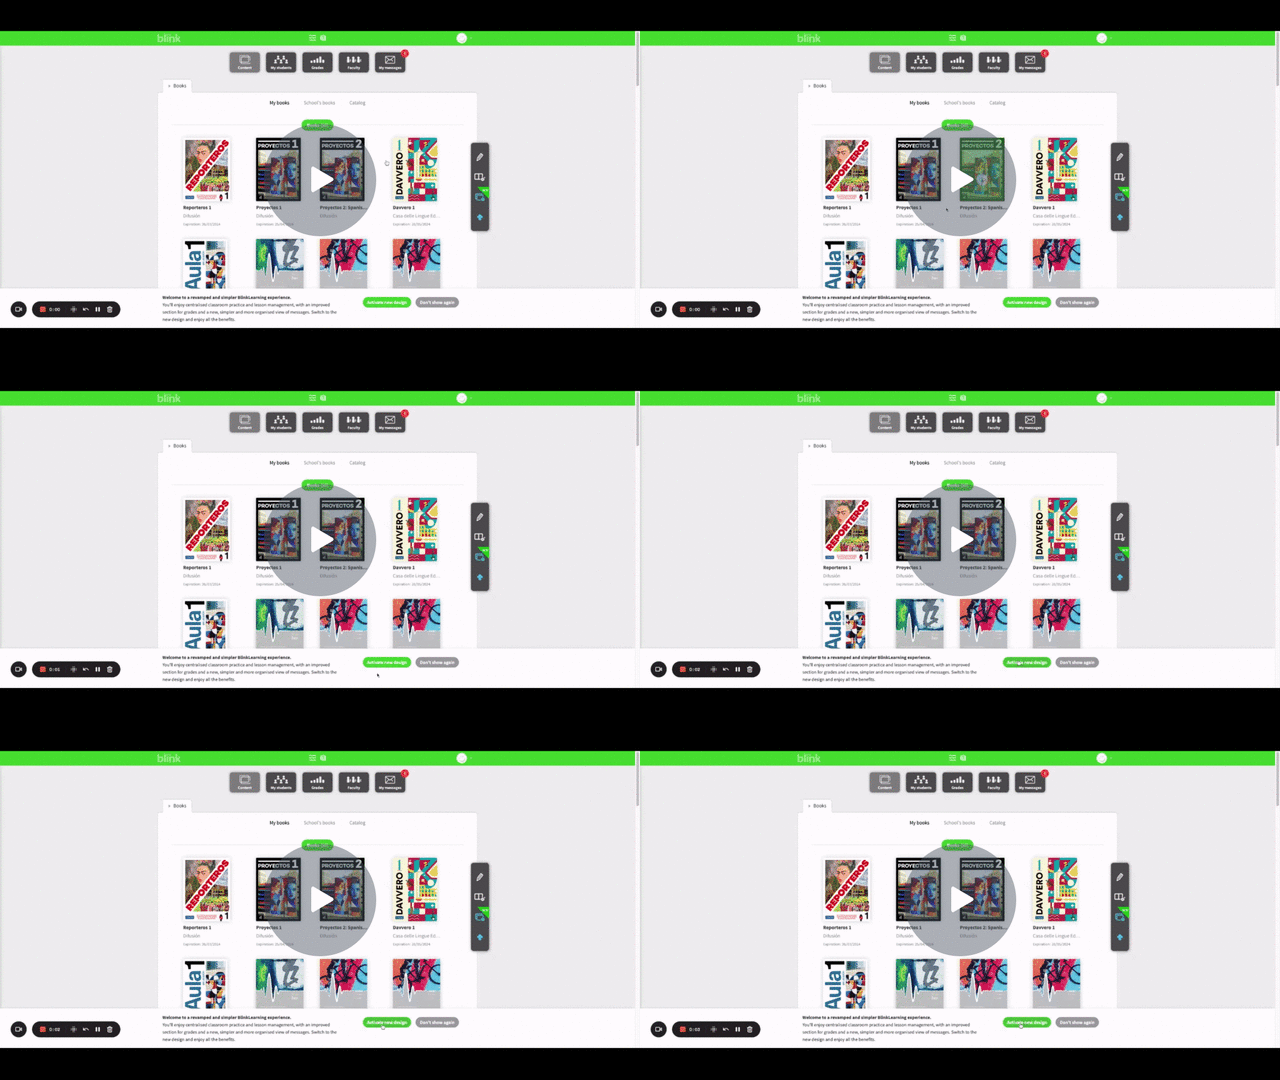
- Click ACTIVATE NEW DESIGN.

- Enjoy the new design!
- Click back on your browser to look at other Tutorials!
Adding Content
Adding Content
- Log in to www.blinklearning.com

- Click on MY CONTENTS.

- Click on the top right corner of the screen.

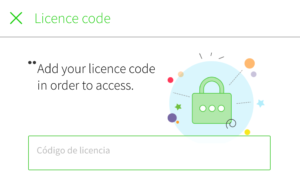
- Add the licence code (Código de licencia).
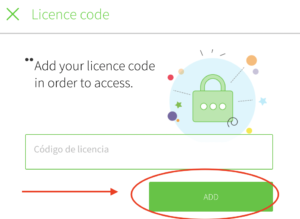
- Click ADD.
- Enjoy the new Content.
Creating a new Classroom
- Log in to www.blinklearning.com

- Navigate to the vertical toolbar on the left and click on Classes to create a classroom.

- Click on the (+) button in the top right corner to add a class.

- Always create a new class with code.

- When naming the classroom, we recommend that you leave the Level and Subject fields blank. Under Group you have the freedom to create a name that will be easy to identify for your students, such as Spanish 101.
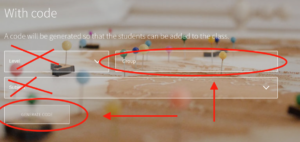
- Click GENERATE CODE.

- Once your Class Code is created, share it with students so that they can join your Blink classroom. See the tutorial “How Students Enroll” for more information.

Navigating Content
- Log in to www.blinklearning.com

- Navigate to the vertical toolbar on the left side of the screen and click on the CONTENTS icon.

- To add new content, read through the (Teacher Tutorial) Adding Content.
- Click on the book to view the CONTENT.
- On the left side toolbar on the screen, you will find all of the materials associated with your product. Items marked with (T) are visible to teachers only. (This doesn’t apply to all products.) The remainder of the items are student materials.
- Selecting a lesson (chapter) item on the left hand side will display the contents available to you in the middle of the page.
- Selecting a content item will bring you to the digital content.
Within the textbook
- Once you’ve selected content to view, you can both scroll or page through material, depending on how your book is designed.
- The toolbar located at the top right hand side of the screen presents to you several options to annotate and navigate your materials.
- The share icon, allows you to copy or share a link to your current location in the book by your preferred communication tool, or directly into Facebook, Twitter, or Google Classroom
- Repeat activity: this button is exclusive to teacher users. It allows you to reset an activity that you have completed as a teacher within your own account. The same button is used when correcting a student’s work if you want to reset their work.
- The pencil icon allows students or teachers to annotate their individual book online by drawing. These edits only apply to their own personal copy and can be removed using the eraser icon.
- The highlight icon allows students or teachers to annotate their individual book online by highlighting text. These edits only apply to their own personal copy and can be removed by clicking on the highlighted section and then clicking the pop up that says “remove highlight”
- The eraser icon can be used to erase any annotation created by the pencil icon.
The add a personal note icon can be used to create digital sticky notes in order to further annotate student or teacher individual books. These edits only apply to their own personal copy. Once created, if you click on them again, you can edit them via the edit button in the bottom right hand corner of the note, or you can delete it by clicking the small x icon in the top right hand corner of the note. - The search in content icon can be used to search for keywords and phrases throughout the entirety of the book. This can be useful for students wanting to review challenging grammar topics or other items of interest.
- The X in the top right-hand corner allows you to return to the table of contents, as well as back to your content library.
Assigning Homework (Homework Tab)
- Click on the Classes icon.
- Click on the class you are building.
- Click on CONTENTS and ensure there is Content added.
- Click on the HOMEWORK tab at the top of the page. (Found underneath the class name)
- Click on CREATE HOMEWORK.
- Select the option that will be assigned. Note there are 3 options to choose from.
- Activity = bookwork from Kursbuch
- Exercises = homework from Arbeitsbuch
- Deliverable files = hardcopy of assignments from Arbeitsbuch to submit.
- Create the assignment.
- To continue, the Title, Deadline, and Time limit are required. Note that the date is formatted as DD/MM/YY.
- Click NEXT.
- Select the assignable exercises (alternatively activities; deliverable materials).
- Use the to view the activity.
- Grade the homework as it comes in. Remember, automatically graded homework will be updated.
- To assign more assignments, click on the + at the top right of the screen.
- Repeat.
- To edit or delete an assignment, click on the at the top right of the page.
- Note, the Edit feature only allows you to change the due date and the duration of the assignment.
- The Remove feature allows you to completely unassign the assignment.
Assigning Homework (Grades Tab)
Tab Content
Grading (Homework and Grades Tabs)
Tab Content

